Čidlo teploty pro SMARWI
Code: SMRW-TS-12VRelated products


Product detailed description

Advantages of the Integrated Solution
- Safe low-voltage connection
- Automatic night setback – the desired temperature is reduced for 8 hours, the cycle repeats every day at the same time
- Automatic air temperature control
- Direct integration with the Smarwi control button
- Option for manual ventilation activation by pressing the button on the sensor
- Discreet design suitable for residential interiors

Safe and Simple Power Supply
Our sensor allows direct power from the 12 V DC Smarwi source.
- No separate socket required
- No handling of 230 V mains voltage
- Installation possible even by non-professionals without technical qualifications
- Both power and signal connection are provided by a single shared cable

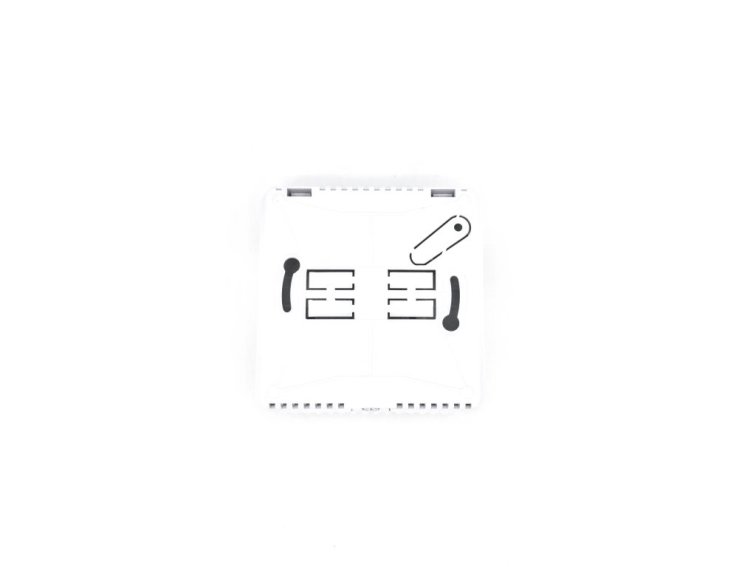
Preparing the Button
Disconnect the power connector of the button. Remove the magnetic cover from the back of the device. Unscrew the four corner screws (cross screwdriver). Remove the back cover of the button.
Removing the Original Board
Remove the electronic board with the button and connected cable. Carefully disconnect the rectangular cable from the connector.
Installing the Sensor
Pass the sensor cable through the opening in the board towards the connector. Connect the sensor connector to the electronic board. The black cable must point outwards from the power connector! Place the board back into the housing so that it fits into its original position.
Completing the Assembly
Replace the back cover on the button. Tighten the four screws. Reattach the magnetic cover. Connect the power connector.
Setup and Commissioning
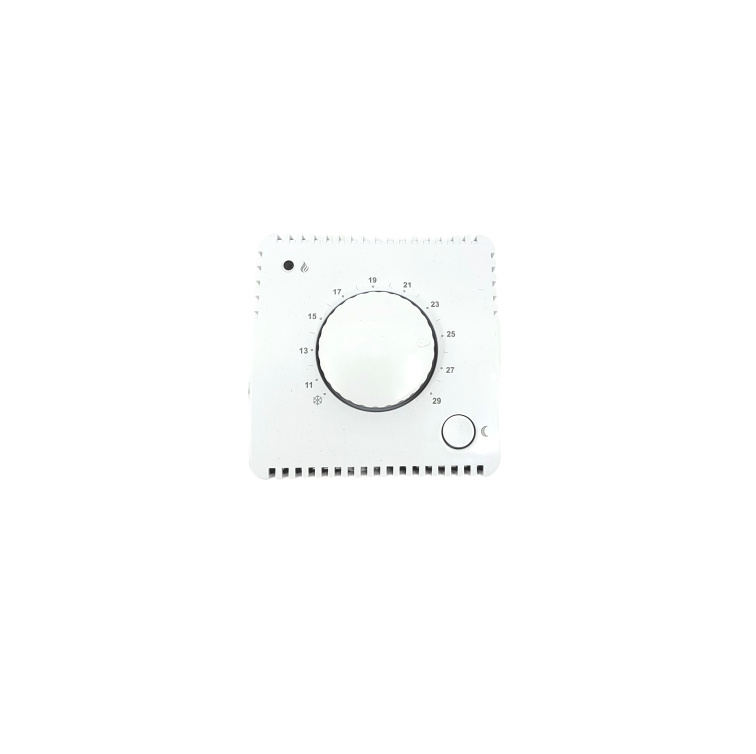
Set the desired parameters on the sensor (e.g., activation type). After connection and system initialization, your Smarwi will work as before, but with the added option of being activated by the connected sensor.Technical Specifications
- Power supply: 12 V DC
- Power consumption: <1 W (0.5 W)
- Hysteresis: 0.3 °C
- Adjustable temperature range: 11 – 29 °C
- Frost protection: +3 °C
- Temperature setting steps: 0.5 °C
- Operating temperature: 0 - 40°C